I used to happily outsource my sourdough cravings to local bakers because, let’s be real, making sourdough from scratch felt like adopting a high-maintenance houseplant that lived on your counter. One baker used organic flour, the other imported hers from Italy, and I genuinely felt better eating their beautiful, soft loaves compared to the sad stuff on grocery store shelves. But even with all that charm, my stomach still wasn’t thrilled. Eventually, I realized I felt amazing when I went completely gluten-free with breads; like, clear-headed, zero-bloat, forgot-I-had-a-stomach kind of amazing. So, against my better judgment (and with only mild flour-based fear), I decided to dive into making my own gluten-free sourdough at home. I wanted the tang and the chew, just without the gluten backlash. And you know what? I quickly learned that with the right starter and a bit of patience, gluten-free sourdough is absolutely doable — and totally worth it.
If you’ve been flipping through my Season’s Eatings cookbook and drooling over the stuffing recipe, you may have noticed it calls for cubes of my homemade gluten-free sourdough bread. Sure, you could swap in another bread, but this sourdough adds a depth of flavor and texture that makes the stuffing truly next level. I wanted to give you the full bread recipe here so you can bake it ahead of time, cube it up, and be ready for stuffing magic. And yes, you might just find yourself eating half the loaf before it makes it to the stuffing bowl. No judgment here.

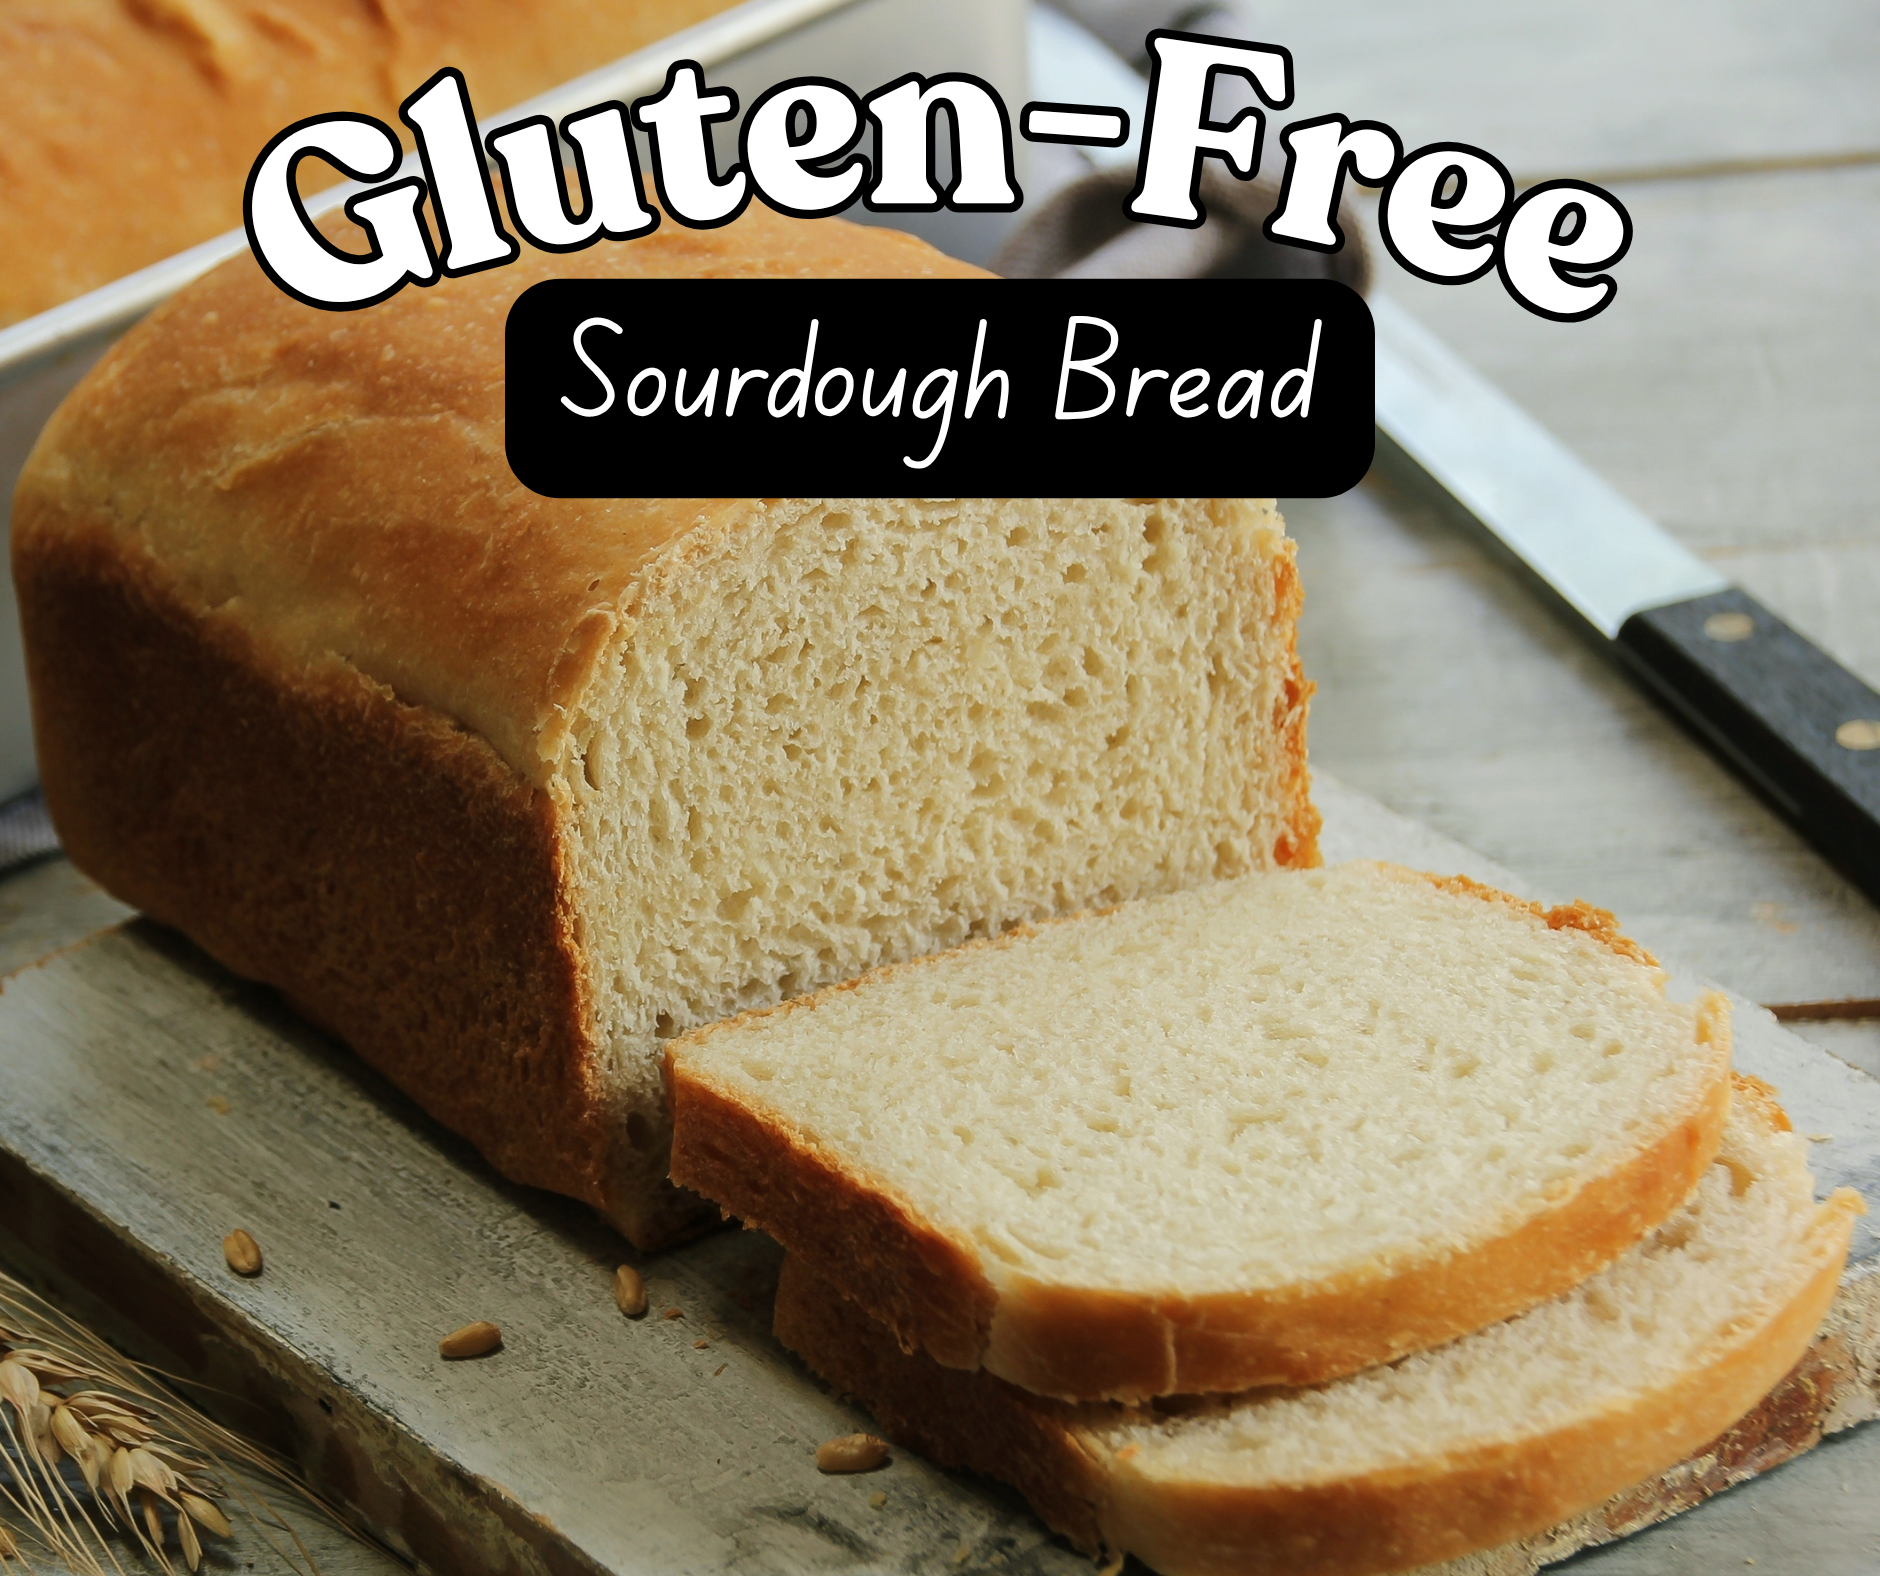
Gluten-Free Sourdough Sandwich Bread (makes one loaf)
325g organic oat milk (I use Kirkland’s brand from Costco)
325g filtered water
100g gluten-free starter
56g melted butter (I use Country Crock’s Plant Butter)
10g whole psyllium husk powder
29g organic granulated sugar
12g salt
8g baking powder
400g gluten-free all-purpose flour (I use King Arthur’s gluten-free all-purpose blend)
In the bowl of a standing mixer, combine ingredients in the order above, measuring out with a digital scale. With the dough hook attachment, mix at medium speed for five minutes, scraping down sides after one minute to make sure all ingredients are well-incorporated. Cover bowl loosely with plastic wrap and set aside in a warm space until the dough has doubled in size.* DO NOT PROCEED TO THE NEXT STEP IF YOUR DOUGH DOES NOT RISE, IT WILL NOT TURN OUT THE WAY IT SHOULD!! Patience is a critical virtue, especially when it comes to sourdough.
When the dough has doubled in size (can take 8-12 hours), place in refrigerator overnight. The next morning, transfer dough to a clean work surface coated with more flour. Line an 8.5×4 inch pullman loaf pan with parchment paper and set aside. Cover dough with more flour and knead, removing air bubbles to form a tighter crumb. Shape into an oval and carefully place into pan. Cover with plastic wrap and let proof, until it reaches until the top of the pan (can take 3-6 hours). Preheat oven to 375 degrees, and place pan in oven to bake for about 1 hour 25 minutes, or until an internal thermometer reads 210 degrees F. Immediately remove bread from pan onto a parchment-lined cooling rack to cool completely before slicing (VERY IMPORTANT!). If you slice the bread before it’s cooled, it will have a gummy texture.
For Storage: store in airtight container at room temperature for 2-3 days, or wrap slices individually with plastic wrap and store in freezer for up to 3 months. Pull out to thaw at room temperature as needed.
*I use a sourdough proofing mat, and that seems to help with the temperature if you live in a cooler place. Just remember that in order for the dough to rise (it takes 8-10 hours at my house!), it needs to be on the warmer end, but not too warm (not above 82 degrees F).


Leave A Comment