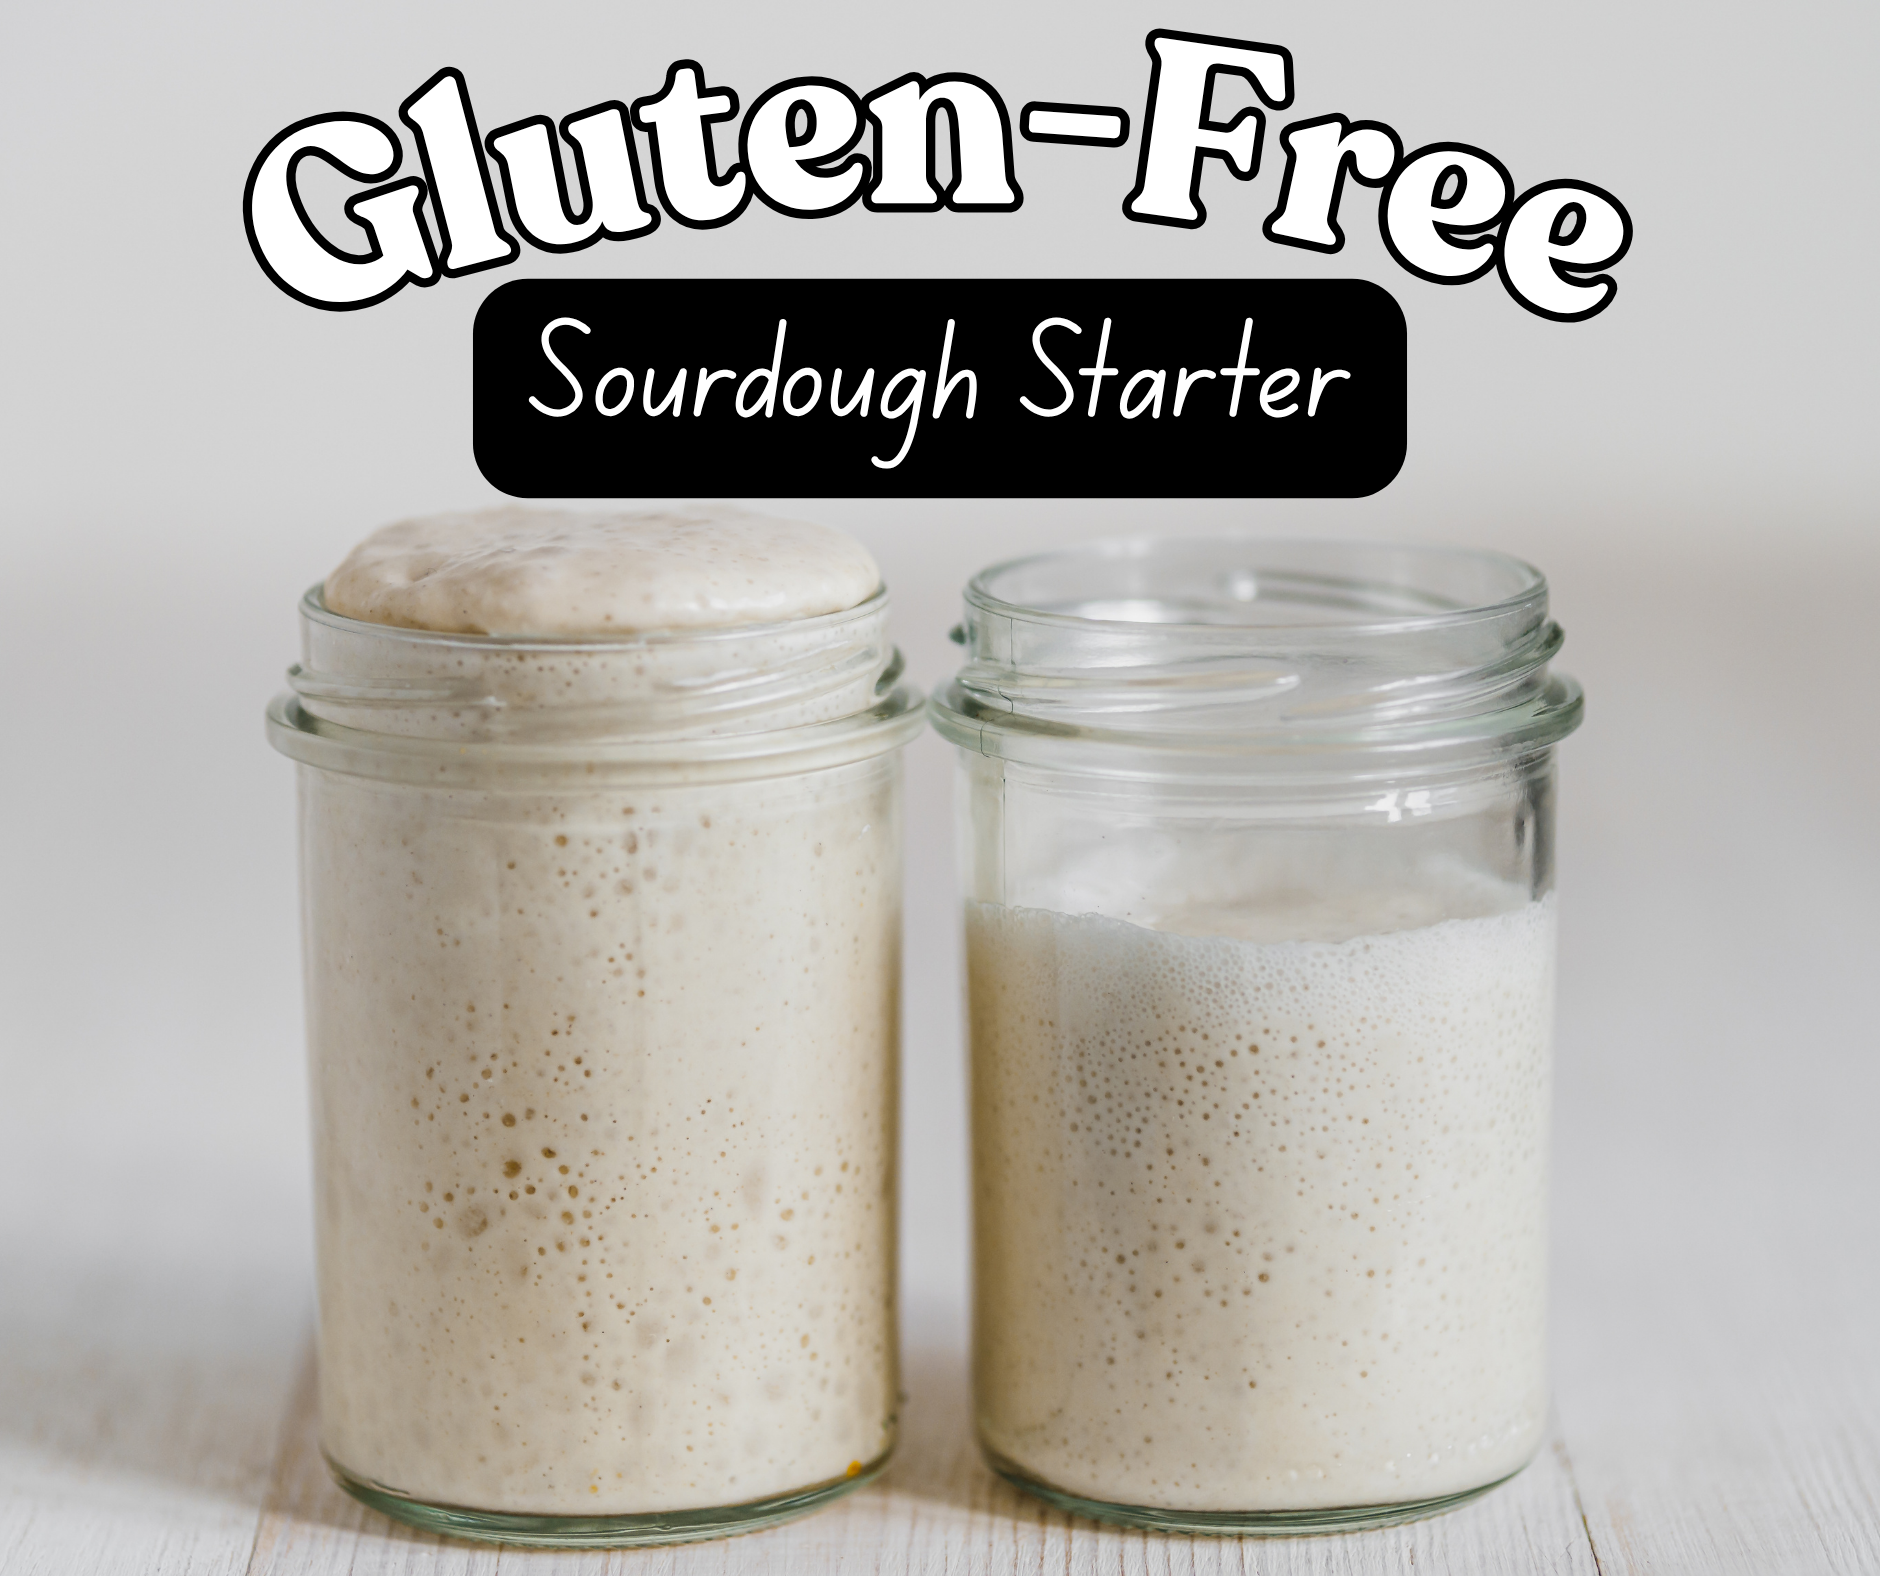
Sourdough isn’t just for wheat lovers anymore. With a little patience and the right ingredients, you can create a tangy, bubbly gluten-free sourdough starter that’s perfect for breads, muffins, pancakes, and more. Whether you’re gluten-sensitive, celiac, or just experimenting with new baking methods, making your own gluten-free starter is simpler than you think.
In this post, I’ll show you how to build a gluten-free sourdough starter from scratch using King Arthur’s Gluten-Free All-Purpose Flour — one of my favorite blends for reliability and performance.
Why Make a Gluten-Free Sourdough Starter?
Traditional sourdough relies on wild yeast and beneficial bacteria to rise and flavor the dough; no commercial yeast required. A gluten-free starter works the same way, but feeds on gluten-free flour instead of wheat.
The result?
-
A more digestible bread, even for sensitive tummies
-
A beautiful rise and tangy flavor, without gluten
-
A chance to bake with wholesome ingredients
What You’ll Need:
-
Filtered or bottled water (chlorine-free is best for yeast growth)
-
A clean glass jar or container
-
A spoon and kitchen scale
Day-by-Day Instructions for Your GF Starter
Day 1:
-
Mix 60g King Arthur GF all-purpose flour with 60g filtered water in a clean jar.
-
Stir well, cover loosely with a lid or clean towel, and let sit at room temperature (74–80°F is ideal).
Day 2:
-
You may or may not see bubbles yet — that’s okay! If you don’t see bubbles, let it sit for one more day.
-
Discard half the mixture. Add 60g flour + 60g water again. Stir, cover, and rest.
Days 3–10:
-
Repeat the discard and feed process once per day.
-
You should start seeing bubbles, smell a light sour aroma, and some rise around Day 3 or 4.
Day 11+:
-
If bubbly and doubling in size within 4–6 hours of feeding, your starter is ready to use!
-
If not, keep feeding daily until it becomes active and predictable.
Tips for Gluten-Free Starter Success:
-
Don’t switch flours midway; consistency helps your starter develop a stable community of wild yeast.
-
Keep your container clean and scrape down the sides after stirring to avoid mold.
-
Watch the smell: It should be tangy, slightly sour, and yeasty — not rotten or cheesy.
-
If it separates (a layer of liquid forms on top), that’s called “hooch” — just stir it back in or pour it off before feeding.
Storing Your Starter:
Once your starter is mature:
-
Fridge storage: Feed once a week and keep in the refrigerator between uses.
-
Room temperature: If baking daily, feed every 24 hours.
- Freezer storage: Store in airtight jar in freezer for up to 12 months.*
To use in a recipe, feed the starter and let it become bubbly and active 6-8 hours before baking.
*Highly recommend!! Freezing a portion of your sourdough starter is like creating a little insurance policy for your baking routine. Whether you’re taking a break from baking, going on vacation, or just want a backup in case something goes wrong with your active starter, storing some in the freezer is a simple and effective solution. Just scoop a bit of well-fed starter into a clean jar, label it with the date, and freeze it. It can be revived later with a couple of feedings — giving you peace of mind and one less thing to babysit.
What Can You Make With It?
-
Gluten-free sourdough sandwich bread
- Sourdough rounds (to use for hamburger buns, breakfast sandwiches, or prepared like English Muffins)
-
Pancakes and waffles
-
Muffins and crackers
-
Pizza dough
-
Even brownies with a tangy twist!
I’ll be sharing some of my favorite gluten-free sourdough recipes soon, so stay tuned!
Final Thoughts
Creating your own gluten-free sourdough starter is a bit like adopting a new pet — it takes a little love and consistency, but once it’s thriving, the payoff is delicious. With King Arthur Gluten-Free All-Purpose Flour as your base, you’re already off to a great start.


Leave A Comment