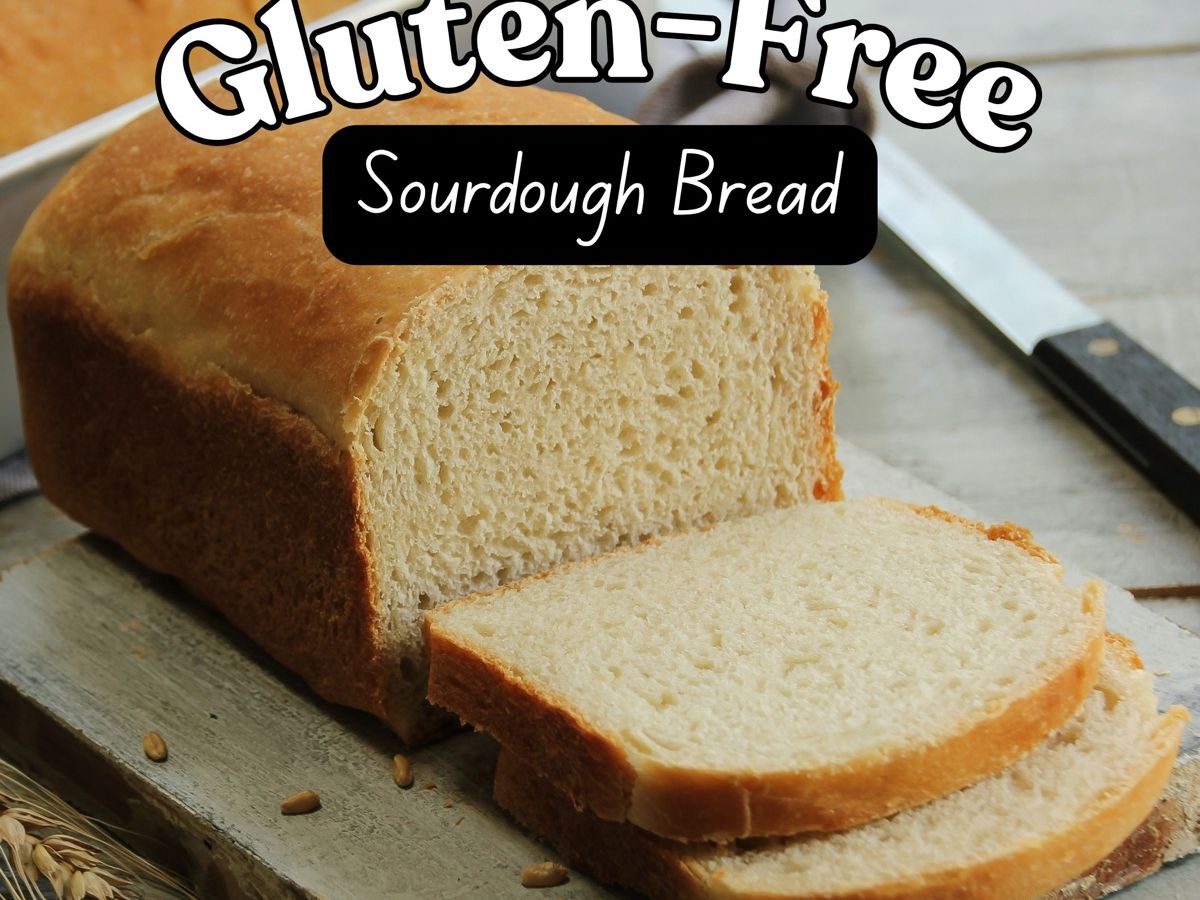
Gluten-Free Sourdough Sandwich Bread
A tangy, chewy gluten-free sourdough loaf made with a GF starter — worth the patience, and the base for the stuffing in my Season's Eatings cookbook.
- Prep Time
- 30 min
- Cook Time
- 1 hr 25 min
- Total Time
- 1 hr 55 min
- Servings
- Makes 1 loaf
I happily outsourced my sourdough habit to local bakers for years, because making it myself sounded like adopting a high-maintenance houseplant that lives on your counter. Even with all that outsourced charm, though, my stomach still wasn't thrilled with regular sourdough. Once I discovered how much better I felt going fully gluten-free with bread, I decided it was worth learning to make my own gluten-free sourdough at home.
If you've been eyeing the stuffing recipe in my Season's Eatings cookbook, this is the bread it calls for cubed up. You can absolutely swap in a different loaf, but this one adds a depth of flavor and chew that makes the stuffing next level — assuming you don't eat half the loaf before it makes it to the stuffing bowl. No judgment here if you do.
Ingredients
- 325g organic oat milk (I use Kirkland's brand from Costco)
- 325g filtered water
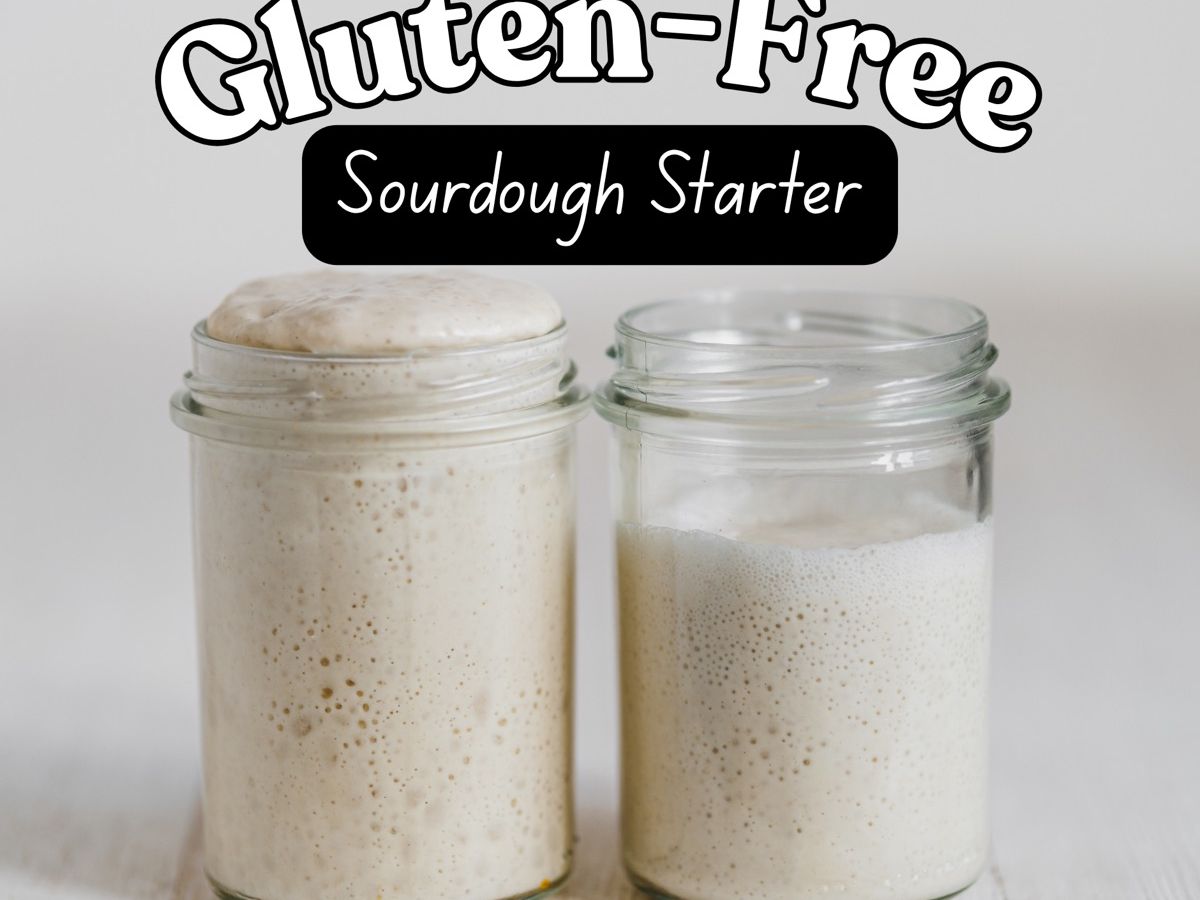
- 100g gluten-free starter
- 56g melted butter (I use Country Crock's Plant Butter)
- 10g whole psyllium husk powder
- 29g organic granulated sugar
- 12g salt
- 8g baking powder
- 400g gluten-free all-purpose flour (I use King Arthur's gluten-free all-purpose blend)
Instructions
- 1In the bowl of a standing mixer, combine the ingredients in the order listed above, measuring each with a digital scale.
- 2Using the dough hook attachment, mix at medium speed for 5 minutes, scraping down the sides after the first minute to make sure everything is well incorporated.
- 3Cover the bowl loosely with plastic wrap and set aside in a warm spot until the dough has doubled in size (this can take 8-12 hours). Do not move on until the dough has actually doubled — patience is essential with sourdough.
- 4Once doubled, place the dough in the refrigerator overnight.
- 5The next morning, transfer the dough to a floured work surface. Line an 8.5x4 inch pullman loaf pan with parchment paper.
- 6Coat the dough with more flour and knead to remove air bubbles and form a tighter crumb. Shape into an oval and place in the loaf pan.
- 7Cover with plastic wrap and let proof until the dough reaches the top of the pan (this can take 3-6 hours).
- 8Preheat oven to 375 degrees. Bake for about 1 hour 25 minutes, or until an internal thermometer reads 210 degrees F.
- 9Immediately remove the bread from the pan onto a parchment-lined cooling rack and cool completely before slicing — slicing too early will leave the bread gummy.
Tips
- A dedicated sourdough proofing mat helps a lot if your kitchen runs cool — the dough needs a warm spot (though not above 82 degrees F) to rise properly, which can take 8-10 hours in my house.
Storage & Reheating
For storage: keep at room temperature in an airtight container for 2-3 days, or wrap slices individually and freeze for up to 3 months. Thaw at room temperature as needed.
Love this recipe? You'll love Chef Erin's Gluten-Free Season's Eatings
Over 60 gluten-free comfort food recipes for Thanksgiving and Christmas — appetizers, main courses, side dishes, baked goods, and sweet treats that make the holidays feel both traditional and worry-free.